
How to Use OneNote to Make and Share Shopping Lists
February 16, 2015 / / Comments Off on How to Use OneNote to Make and Share Shopping Lists
2 minute read


Do you go grocery shopping with your smartphone in hand, cross off your list on paper as you go, or rely on your memory while you wander the aisles? We all have personal preferences, but if you need to get more organized with your shopping lists, OneNote can help.
It offers a way to create a shared shopping list using to do tags that makes keeping track of your necessary items easy, even when you’re sharing the responsibility among multiple people.
Here’s the process we recommend for creating your shared shopping list in OneNote 2013 or 2016:
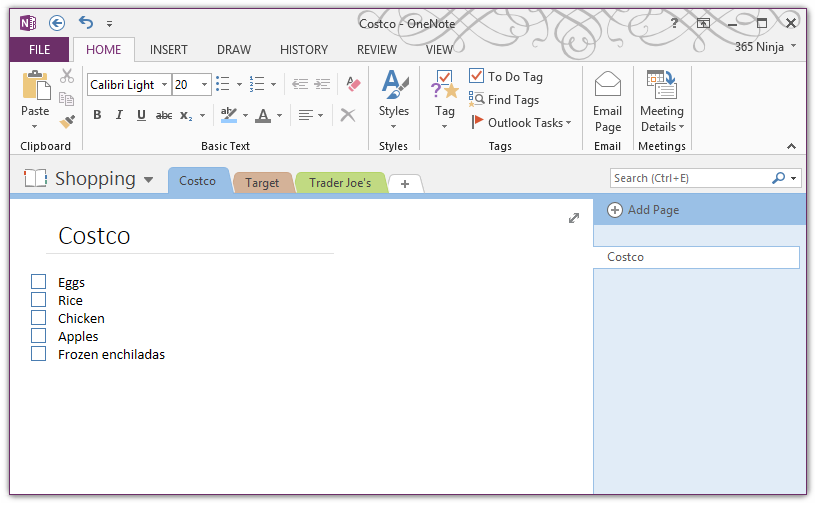
- Create a notebook titled something like “Shopping” or “Lists.” You can share the notebook at this point, or wait until you’ve completed the setup to share.
- Create a section for each store you want to have a list for. Alternatively, you could organize your lists by category, or “owner” (i.e. who’s responsible for getting which items).
- Enter the items on your list with checkboxes, AKA To Do tags.
- Share the notebook if you haven’t yet. Click the File tab, click Share, and enter the email addresses of the family member, friend, or roommate you want to share your list with.
- When you go shopping, pull up the list on your phone or tablet. Check the boxes when you get your item. The checked-off list will sync so that anyone who has access to the OneNote notebook will instantly see what has been checked off.
Thanks to subscriber Scott N. for suggesting this tip!


