


Empowering, educating, celebrating, and delighting the modern IT professional.

Featured article
The ongoing challenge and opportunity of SaaS license spend management
A practical framework for enterprise SaaS cost optimization from unused license reclamation to shadow IT visibility and control.

Cost of inaction: Why you need a SaaS management platform now
Every organization can greatly benefit from SaaS management because the costs of not having one are too high. Learn why you need a SaaS management platform now.
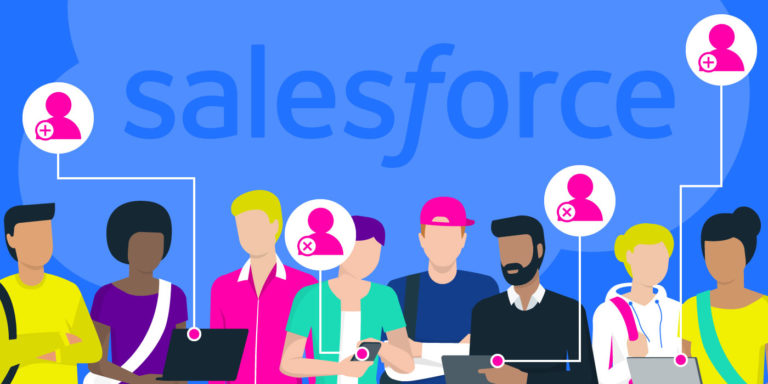
How to build a Salesforce onboarding workflow in BetterCloud
Last week, BetterCloud released 19 new Salesforce actions to help you automate the tasks that Salesforce administrators are concerned about. In this product tip, we show you how to create an onboarding workflow that incorporates some of these new actions.

Do you have the right technologies to improve your employee experience?
Improve employee productivity, onboarding, and SaaS governance with employee experience automation. Learn how IT leaders use SaaS tools for employee experience to streamline provisioning, reduce ticket volume, and support every stage of the employee lifecycle.

Why you need a SaaS management platform for your SaaS operations
Learn why you need a SaaS management platform in 2026 to govern AI adoption, manage Shadow AI risks, ensure compliance, control costs, and automate operations.

Automate SaaSOps workflows with BetterCloud templates: Save time & strengthen security
Explore BetterCloud workflow templates for offboarding, onboarding, admin access, guest users, Slack cleanup & SaaS automation.

The hidden and evolving risks of SaaS in 2026: Shadow IT, AI, and beyond
Uncover the 2026 hidden risks of SaaS. Learn how SaaS management platforms cut inactive SaaS licenses, manage security and identity risks for better compliance.

How to automatically assign a Google Workspace archived user license
Learn how to assign archived user licenses in Google Workspace automatically with BetterCloud workflows.

The 2026 SaaSOps checklist: Managing and securing your enterprise SaaS applications
Grab our essential SaaSOps checklist to audit your SaaS security, cut waste, automate user lifecycles, and run AI governance across your enterprise app stack.

The IT leader’s definitive glossary for SaaS operations and management
What is SaaSOps? Our glossary covers all the terms, tools, and frameworks you need to know. Updated for 2026. Grab this essential SaaS operations resource now.

7 IT tasks you should fully automate in 2026 shown (with workflow examples)
Explore 7 IT workflow automation examples for SaaS teams, what to automate, what to avoid, and how BetterCloud helps scale safely.

Data Loss Prevention: The complete guide for IT and security leaders
Learn how to build a SaaS-ready data loss prevention policy for 2026, with practical DLP controls, automation tips, risks & compliance guidance.

The AI-driven SaaS industry shift in mid-2026: From point solutions to platforms
The SaaS industry is evolving fast. Learn traditional, AI-enabled, and AI-native SaaS trends, emerging pricing models, and why platforms dominate in 2026.