


Empowering, educating, celebrating, and delighting the modern IT professional.

Featured article
Before you write an AI policy, answer these five questions
Before writing an AI policy, CIOs should answer five key questions about scope, ownership, data, human oversight & enforcement.

Agentic AI is emerging as the next layer of IT automation
Agentic AI IT operations automation is here. Learn how AI agents manage SaaS workflows and why governance must come before autonomy.

The 2026 SaaS sprawl management checklist
SaaS sprawl is back and bigger than before. Use this checklist to discover, rationalize, and govern your SaaS environment in 2026.

What ‘human in the loop’ actually means at enterprise scale
Learn how enterprise IT teams can design human in the loop AI workflows that prevent rubber-stamp approvals, reduce risk, and keep SaaS automation under control.

The move fast vs. stay safe dilemma: Unmasking and eliminating shadow AI risk
Uncover Shadow AI risk in your SaaS stack. Improve Shadow IT discovery, master Shadow SaaS management, and use the best Shadow IT tools to eliminate Shadow AI.

The 10 biggest questions in IT right now (Answered by 525 IT leaders)
Missed the 2026 State of SaaS webinar? Read our 2026 State of SaaS webinar recap covering agentic AI, shadow AI, SaaS ROI, and IT readiness.

The end of click-ops: Why IT is moving to natural language operations
Natural language IT operations give IT teams a faster, smarter alternative to click-ops without sacrificing governance or human oversight.

The 2026 State of SaaS report
Discover the latest 2026 SaaS statistics on AI adoption, shadow AI, SaaS sprawl, automation, and the future of enterprise governance.

How to choose the right app: The IT handbook for 2026
Learn how to choose the right app. Discover essential procurement tips, best practices for how to buy a SaaS app, and top strategies for replacing a SaaS tool while mastering spend management.

Self-service access provisioning: How to give employees what they need without losing control
Self-service access provisioning done right: structured request workflows, automated approvals, audit trails, and zero manual provisioning for IT.

AI governance isn’t an IT problem, it’s a business risk problem
AI governance is no longer an IT function alone. Learn why operational AI governance is becoming a board-level priority for risk, compliance, and growth.
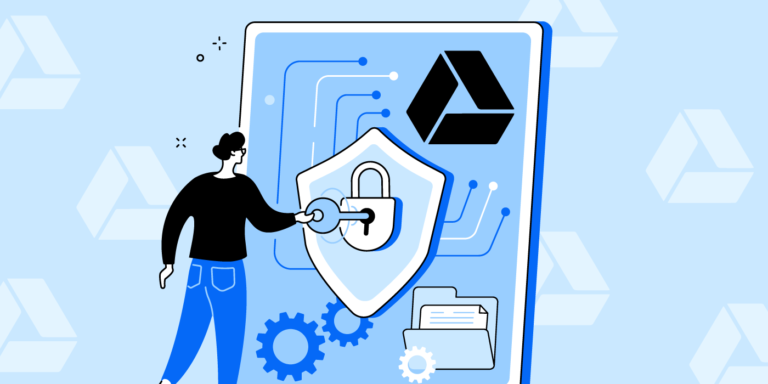
Improve Google Drive security for the AI era
Learn how to improve Google Drive security in the AI era. Discover expert solutions for automated data loss prevention, file governance, and controlling SaaS data sharing.

How to safely adopt AI in IT (without breaking governance)
Learn how to adopt AI in IT without introducing unnecessary risk. Explore common risks of AI in IT operations, governance best practices, and the safeguards IT teams need to deploy AI with confidence.