
Empowering, educating, celebrating, and delighting the modern IT professional.
Featured article
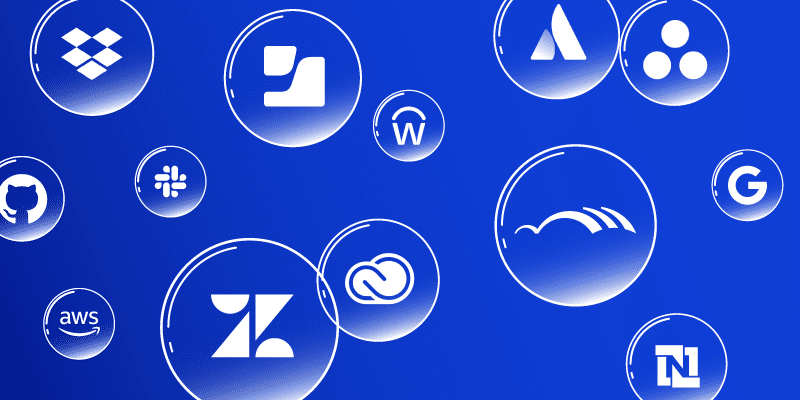
Top SaaS applications from IT and automation leaders in 2024
Unveiling the tech stack all-stars from BetterCloud’s State of SaaS Report! Explore the most-valued applications by IT leaders, including Adobe Creative Cloud, Asana, Atlassian, AWS, and more. Discover how BetterCloud can optimize your tech stack!

Smart SaaS budgeting: Refine your spend strategy for 2024
Feeling overwhelmed by software subscriptions? Learn how to create a smart SaaS budget and make your tech stack work for you. This guide covers budgeting steps, common mistakes to avoid, and how BetterCloud can simplify the process.
Read more
The IT leader’s mega-guide to SaaS savings
Stop SaaS sprawl from draining your budget! BetterCloud’s guide reveals how to control hidden SaaS costs, optimize your tech stack, and maximize ROI. Download now & conquer SaaS bloat!
Read more
Mastering helpdesk support: The right way to submit an IT ticket
Struggling with tech problems at work? Don’t waste time with confusing helpdesk tickets! This guide teaches you how to write clear, concise requests that get your issues resolved faster.
Read more
The AI tax: What IT pros need to know
Discover how the AI tax is quietly inflating your software bills and learn how to combat it with a robust SaaS management platform (SMP). Stay ahead of unexpected costs and take control of your organization’s software expenses.
Read more
SaaS management explained by the BetterCloud pets
Celebrate National Pets Day with BetterCloud’s adorable team of software-savvy pets! Discover how Lucy, Capi, Salla, Indigo, Rulo, and Bala simplify SaaS management and optimize performance. Let these lovable sidekicks guide you to a purr-fectly managed software environment!
Read more
From ideas to reality: BetterCloud’s inaugural Hackathon!
Discover how BetterCloud’s customer-centric approach drives innovation. Learn about our recent hackathon, where we collaborated with customers like JAMF and Merge to build features faster than ever.
Read more
How to prevent “shelfware” and optimize SaaS usage
Many businesses fall into the trap of “shelfware”, where they purchase software, but don’t fully utilize it. This not only wastes money, but hinders productivity.
Read more
BetterCloud named a leader in Spring 2024 G2 Grid Report
Fresh off the press: G2 released its Spring 2024 Grid Reports and we’re incredibly grateful to our thousands of customers and users for honoring BetterCloud as a Leader in 30+ G2 Grid Reports.
Read more
Smooth sailing: Simplifying mergers with automated onboarding
Learn how BetterCloud streamlines onboarding, enhances security, and ensures a successful acquisition.
Read more
Your guide to make software spend optimization work for your company
Learn how to gain visibility, automate processes, and identify cost-saving opportunities.
Read more
Embracing growth and unity: Our new Mexico City office
Discover the heart and soul of BetterCloud’s newest BCMX office, where culture meets camaraderie and collaboration knows no borders.
Read more
Finding value in your existing tech stack
Maximize efficiency and minimize costs in your tech stack with BetterCloud. In a world where every dollar counts, BetterCloud empowers businesses to optimize usage, reduce spending, and enhance security.
Read more