3 Steps to Set Up Google Chromebox for Meetings
3 minute read

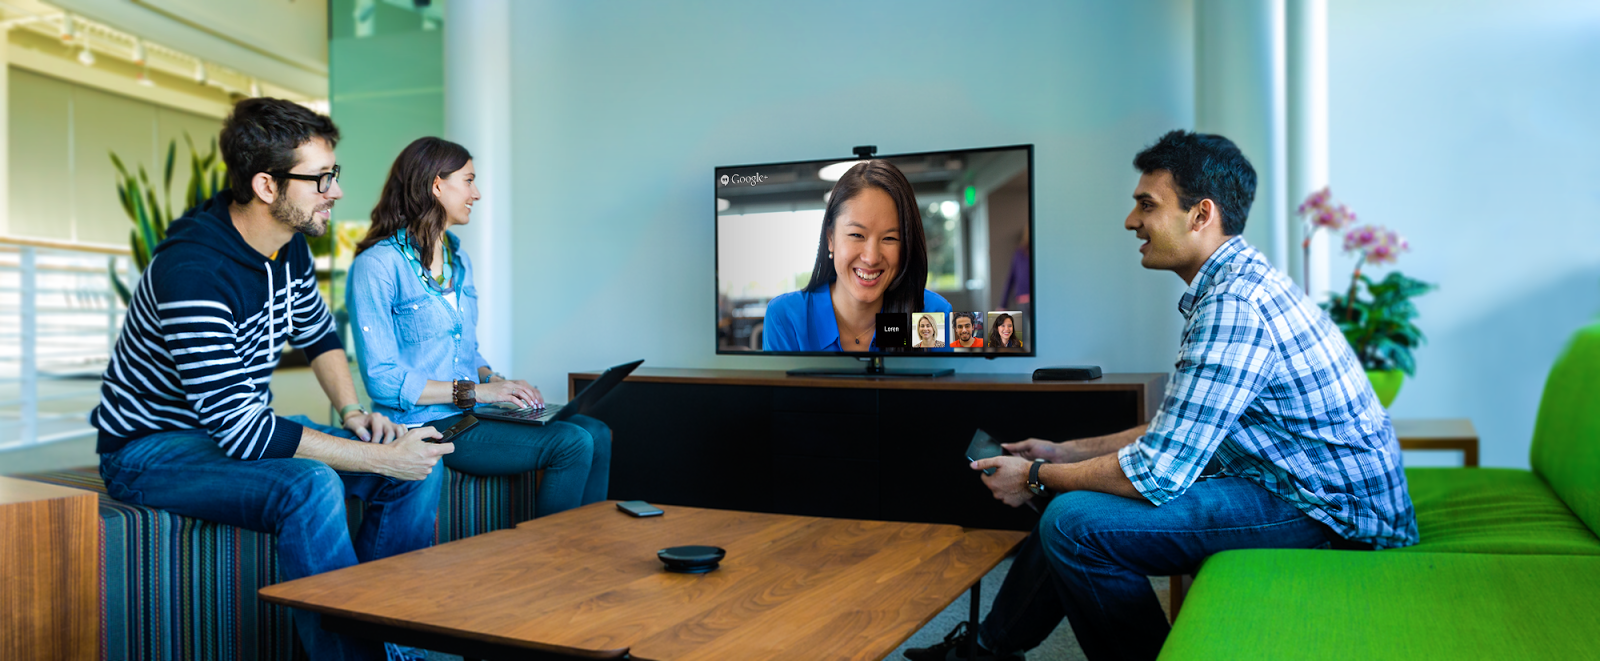
In February of 2014, Google released Chromebox for Meetings, a combination of a high-definition camera, external microphone / speaker, remote control and a Chromebox. This created the very first business video conferencing solution for Google Apps, all you need to add is a display.
Chromebox for Meetings has Google Hangouts fully integrated, so you are able to access all of Hangouts great features (learn more about here). With Chromebox for Meetings there is a dedicated URL for sharing screens and management accounts for scheduling meetings. It allows to you have meetings with up to 15 participants who are anywhere on any device. With Chromebox for Meetings you can also collaborate on documents in real-time with the ability to share screens wirelessly.
By replacing bulky legacy systems with Chromebox for Meetings you are able to create a system that is more end-user friendly, while maintaining a viable video conferencing solution for Google Apps customers.
1. Enroll your Chromebox for Meetings
The first thing you need to do after getting your Chromebox for Meeting is to enroll the device on your organization’s domain. Here are the steps for Chromebox enrollment:
- Connect the Chromebox to the display
- Connect the the speaker, camera, and USB receiver for the control to the Chromebox
- Turn on both the Chromebox and display
- Enter your language, keyboard layout, timezone, and network then click Continue
- After you accept the Google ChromeOS Terms, sign in with your Google Apps email address and password
- The enrollment process will automatically begin, then click Done when it has completed
- Once the Hangout screen appears, follow the onscreen instructions to test your camera, microphone and speaker
Note: Copy the URL that appears on the screen to add a calendar to your Chromebox (instructions below)
Once you have completed the enrollment process of your Chromebox for Meetings, you will only be able to place unscheduled video calls between devices. To enable the scheduling of meetings on the device you must add the room’s online calendar.
2. Add a Calendar to your Chromebox for Meetings
Although any end user can add a Chromebox for Meetings to your domain, an admin must add the room’s online calendar to the device to allow end users to scheduled meetings. Follow these steps to add a calendar to your Chromebox for Meetings:
- Copy the URL that appeared on the screen after you enrolled the Chromebox, and paste it in your web browser (Note: If you don’t have the URL for the Chromebox, click on the Settings icon in the upper-right corner of the device’s home screen to locate the URL)
- Login to the Google Apps Admin Console when it appears on the screen. If you’re already logged into the Admin console, this screen won’t appear and you can continue to Step 3.
- From the Device Management menu click Devices, located to the right of Chromebox for Meetings
- Select the device then click Add calendar resource
- Click Unassigned
- If the room in which the Chromebox for Meetings was placed appears on the list, click the room name then Save.
Note: If the room doesn’t appear, add it to the list by clicking Create Resource, then name the room and provide any other necessary information, then click Save
Once a calendar has been added to the Chromebox for Meetings, end-users are able to reserve the Chromebox and associated room for a meeting. This will help reduce scheduling conflicts by ensuring rooms aren’t double booked.
3. Manage Chromebox for Meetings in the Admin Console
With the use of the Google Apps Admin Console, you are able to manage the settings of Chromebox for Meetings. Settings on the admin console that can be managed include the ability change the name and timezone of the device, remotely manage video calls, set the reboot rules, and deprovision a device. You can manage the settings of an individual device or all the devices on your domain.
Manage settings for an individual Chromebox for Meetings
- In the Google Apps Admin Console click on Device Management then click Devices, located to the right of Chromebox for Meetings
- Select the organizational unit to which you want to apply the settings to
- Click on the device name to change settings
- Change the desired settings then click Save at the bottom of the page
Manage settings for all the Chromebox for Meetings on your domain
- In the Google Apps Admin Console click on Device Management then click Settings, located to the right of Chromebox for Meetings
- Select the organizational unit to which want to apply the settings to
- Create desired policies, then click Save at the bottom of the page
Chromebox for Meetings is Google’s first solution for video conferences for organizations using Google Apps. Setup consists of enrolling the device on your domain and associating the room’s online calendar to it. With the use of the Admin Console, you can easily manage one or multiple Chromebox for Meetings. Google has truly created a viable alternative to expensive legacy systems.
Image courtesy of the Google Chromebox for Meetings product page


