


Empowering, educating, celebrating, and delighting the modern IT professional.

Featured article
The hidden and evolving risks of SaaS in 2026: Shadow IT, AI, and beyond
Uncover the 2026 hidden risks of SaaS. Learn how SaaS management platforms cut inactive SaaS licenses, manage security and identity risks for better compliance.

How to automatically assign a Google Workspace archived user license
Learn how to assign archived user licenses in Google Workspace automatically with BetterCloud workflows.

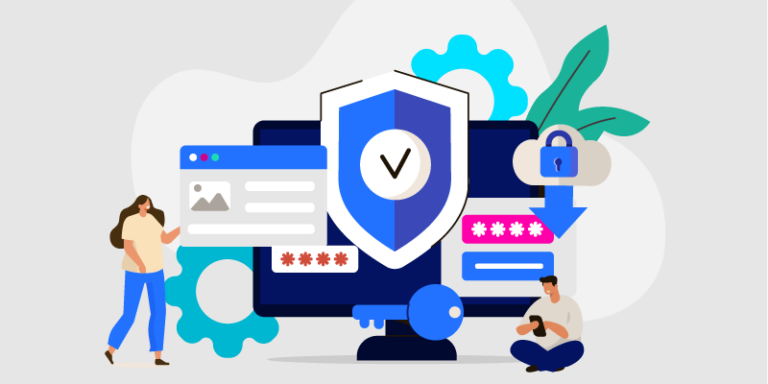
The 2026 SaaSOps checklist: Managing and securing your enterprise SaaS applications
Grab our essential SaaSOps checklist to audit your SaaS security, cut waste, automate user lifecycles, and run AI governance across your enterprise app stack.

The IT leader’s definitive glossary for SaaS operations and management
What is SaaSOps? Our glossary covers all the terms, tools, and frameworks you need to know. Updated for 2026. Grab this essential SaaS operations resource now.

7 IT tasks you should fully automate in 2026 shown (with workflow examples)
Explore 7 IT workflow automation examples for SaaS teams, what to automate, what to avoid, and how BetterCloud helps scale safely.

Data Loss Prevention: The complete guide for IT and security leaders
Learn how to build a SaaS-ready data loss prevention policy for 2026, with practical DLP controls, automation tips, risks & compliance guidance.

The AI-driven SaaS industry shift in mid-2026: From point solutions to platforms
The SaaS industry is evolving fast. Learn traditional, AI-enabled, and AI-native SaaS trends, emerging pricing models, and why platforms dominate in 2026.

Your guide to make software spend optimization work for your company
Learn how to gain visibility, automate processes, and identify cost-saving opportunities.

AI-ready or not? Google Drive best practices recap
Rolling out Gemini? Learn Google Drive governance best practices to reduce oversharing, shadow AI risk & sensitive data exposure.
How to manage SaaS user access permissions
Too many IT teams struggle with effectively managing SaaS user access permission. Some simple best practices can help improve security and compliance.

SaaS contract negotiation: Renew like a pro
Discover best practices for SaaS vendor negotiations, from preparation to pricing strategies & contract pitfalls to avoid.

How to manage SaaS sprawl
Remember when “software management” meant updating a few core applications and maybe tracking licenses in a spreadsheet? Ah, simpler times. Fast forward to today, and your organization is probably using more SaaS applications than you have fingers and toes – each with its own login, its own billing cycle, and…

What to do when you inherit a workflow in BetterCloud
Learn how IT admins can audit, troubleshoot, and optimize inherited BetterCloud workflows. Follow a step-by-step approach to identify failures, reduce risk, and improve automation without starting from scratch.