5 Steps Every Google Apps Admin Should Take When Onboarding New Users
August 24, 2016
4 minute read

When new hires show up at the office on their first day, bright-eyed and bushy-tailed, they want to hit the ground running.
But incorrect provisioning can prevent them doing their jobs effectively, resulting in loss of productivity—or even worse, improper access to sensitive data. Here are five critical steps for provisioning and onboarding so that you keep your organization secure and set up your users for success.
To learn 12 essential steps for deprovisioning users in Google Apps, click here.
1. Create a new user
To start off the provisioning process, you’ll have to create a new user account and input basic information like the user’s name, email address, and password.
- In the Admin console dashboard, go to Users > click
 to add user > enter their First name, last name, and email address. If your account has multiple domains associated with it, use the dropdown menu to select the correct domain.
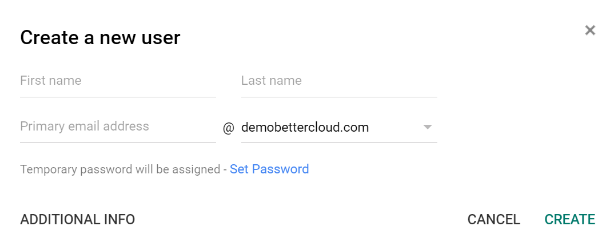
- The Admin console will create a temporary password with a mix of symbols, upper and lower case letters, and numbers. If you’d like to set the password yourself, you can do that as well.
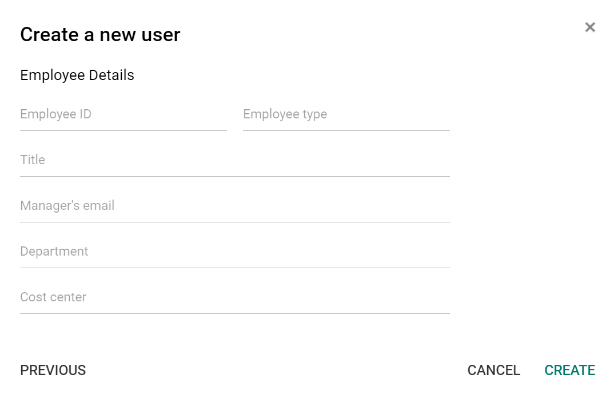
- [Optional]: If you want to add additional contact information (e.g., a work address or a cell phone number) or employee details (e.g., employee ID number or cost center), click Additional info.
- Click Create > Send email or Print to send the account information to the new employee. (If you’re emailing instructions, just remember to send it to the user’s personal email address, not this new one you’re creating.)
- Click Done.
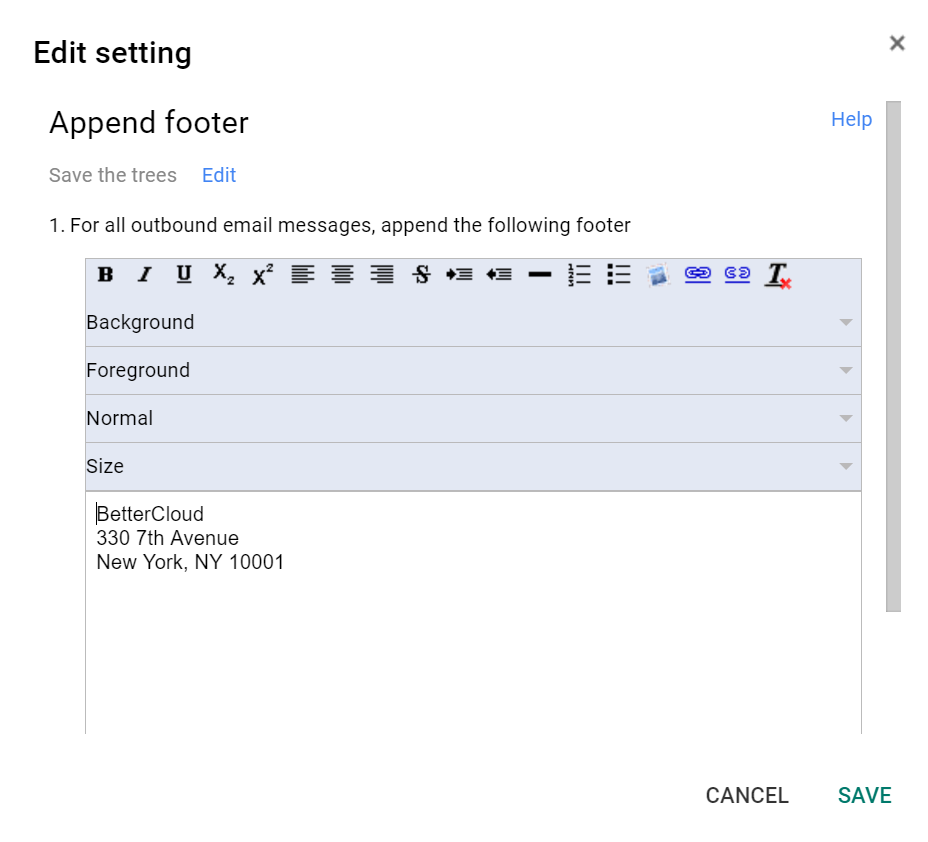
2. Apply email signature
Append your organization’s email signature to the user’s emails. A standardized email signature helps your organization maintain brand consistency and provides a professional, visually coherent look.
- In the Admin console dashboard, go to Apps > Google Apps > Gmail > Advanced settings.
- Scroll down to Append footer. If the status underneath says:
- Not configured yet → click Configure to configure the setting.
- Locally applied → click Edit to edit an existing setting or Add another to add a new setting.
- Inherited → click View to view the setting or Add another to add a new setting.
- Enter in your organization’s email signature using the formatting tools provided.
- [Optional]: Create customized email signature templates in BetterCloud and apply them to individual users, groups, org units, or the entire domain. Set a signature policy to ensure signature standardization.
3. Determine org unit membership
Add the user to the appropriate organizational unit (OU) and necessary groups. (What’s the difference between an OU and a group? Click here to learn more.)
- In the Admin console dashboard, go to Users > select the user and click on their name.
- Click to add the user to a group.
- Click to move the user to another OU.
[Optional]: Use BetterCloud’s Time Saver option to mirror the group/OU memberships of an existing user on your domain, or better yet, use Workflows to automatically add users to groups/OUs based on customizable criteria.
Learn more about how Workflows can automate the provisioning (and deprovisioning) process for you.
4. Send a welcome email
Send a welcome email to your new user’s personal email address containing any vital IT information they should know on day one. At the very least, this email should include their login name, password, and instructions on how to log in for the first time. We recommend that they also be required to change their password upon first logging in. Here’s some other information you might consider including:
- How to set up 2-factor authentication
- The best way to contact IT (e.g., ticket submission system, phone numbers for the help desk, email addresses)
- Acceptable use policy
- Security tips around recognizing phishing attempts, who to report suspicious activity to, etc. You may also want to include Do’s and Don’ts (e.g., don’t leave your computer unlocked, don’t click on suspicious links)
- Phone instructions (e.g., their extension, how to check voicemail messages for the first time, etc.)
- Printer instructions
- FAQs
5. Grant the right permissions
Make sure your new user has access to the right Drive files, folders, Sites, Calendars, and more—this is an important step. They will lose productivity if they have to wait hours or days to get access to the information they need. Conversely, you could put your organization at risk for compliance violations if you accidentally grant them more access than is required.
Provisioning users is typically a tedious, manual process, but with BetterCloud, it can take minutes, not days. With BetterCloud Workflows, you can create a workflow that automates user onboarding, thereby automating away human error and regaining control of your time. Learn more about Workflows here.