


Empowering, educating, celebrating, and delighting the modern IT professional.
Featured article
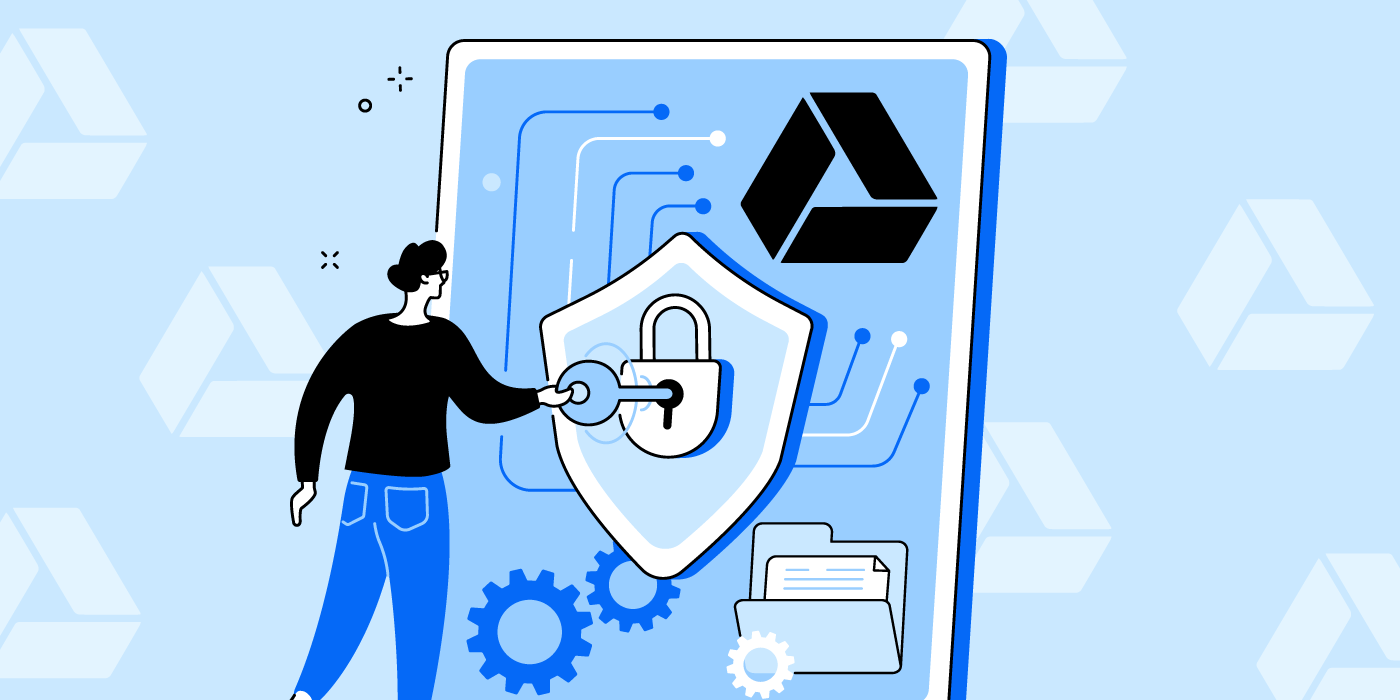
Improve Google Drive security for the AI era
earn how to improve Google Drive security in the AI era. Discover expert solutions for automated data loss prevention, file governance, and controlling SaaS data sharing.

How to safely adopt AI in IT (without breaking governance)
Learn how to adopt AI in IT without introducing unnecessary risk. Explore common risks of AI in IT operations, governance best practices, and the safeguards IT teams need to deploy AI with confidence.

Product tip Tuesday: OAuth discovery and beyond
App and file discovery is important, but how IT teams remediate what they find is a critical next step. Here’s how to automate those tasks in BetterCloud.

3 IT management tasks AI can do in seconds
Explore IT management tasks AI can do faster, including user access audits, employee offboarding, and bulk admin changes.

Data protection and SaaSOps in your Zero Trust journey: Strategies for 2026
Discover how SaaSOps drives true Zero Trust data protection. Learn how to secure and govern your SaaS stack using automated alerts and orchestration.

The AI-driven SaaS industry shift in mid-2026: From point solutions to platforms
The SaaS industry is evolving fast. Learn traditional, AI-enabled, and AI-native SaaS trends, emerging pricing models, and why platforms dominate in 2026.

Introducing the next generation of BetterCloud
BetterCloud’s next generation platform helps IT teams govern SaaS, AI agents, and workflows with AI-native IT operations.

The SaaS onboarding process: A complete guide for IT & HR teams
Learn how to build a scalable SaaS onboarding process, streamline employee onboarding SaaS workflows, and automate user provisioning for new hires.

The ongoing challenge and opportunity of SaaS license spend management
A practical framework for enterprise SaaS cost optimization from unused license reclamation to shadow IT visibility and control.

Cost of inaction: Why you need a SaaS management platform now
Every organization can greatly benefit from SaaS management because the costs of not having one are too high. Learn why you need a SaaS management platform now.
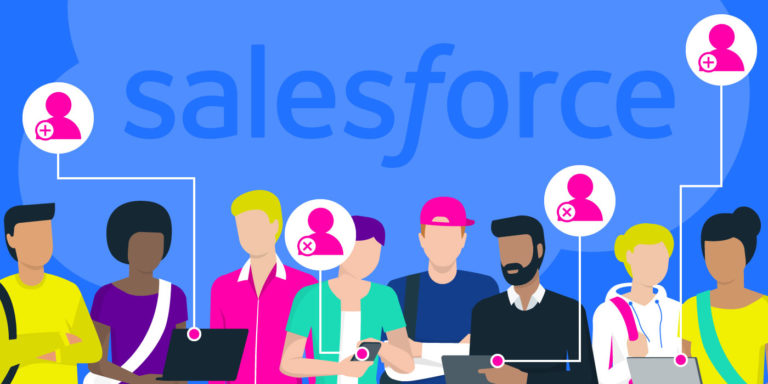
How to build a Salesforce onboarding workflow in BetterCloud
Last week, BetterCloud released 19 new Salesforce actions to help you automate the tasks that Salesforce administrators are concerned about. In this product tip, we show you how to create an onboarding workflow that incorporates some of these new actions.

Do you have the right technologies to improve your employee experience?
Improve employee productivity, onboarding, and SaaS governance with employee experience automation. Learn how IT leaders use SaaS tools for employee experience to streamline provisioning, reduce ticket volume, and support every stage of the employee lifecycle.

Why you need a SaaS management platform for your SaaS operations
Learn why you need a SaaS management platform in 2026 to govern AI adoption, manage Shadow AI risks, ensure compliance, control costs, and automate operations.