
Empowering, educating, celebrating, and delighting the modern IT professional.

Featured article
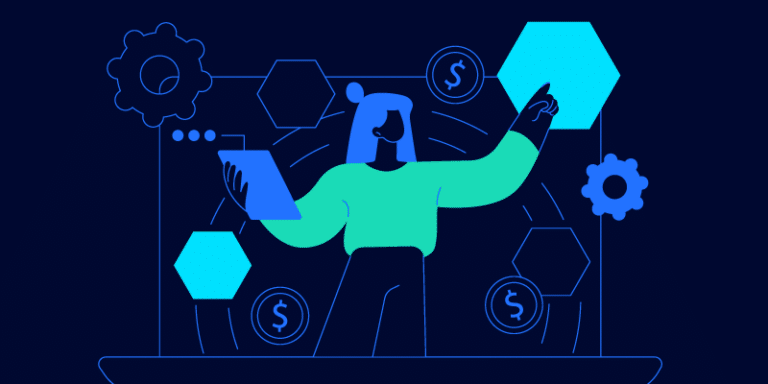
Software and AI: Is your budget keeping pace with innovation?
Learn how to bridge the AI budget gap with SMPs & fund transformative initiatives through SaaS spend optimization.
7 Things to consider when buying software
Simplify software selection with our buying guide! Get tips for effective software acquisition, from identifying needs to negotiating contracts.
Read more
BetterCloud recognized as a Leader in G2’s Summer 2025 Report
BetterCloud leads G2’s Summer 2025 reports. Trusted for SaaS Ops, Spend Mgmt, & user automation by top IT teams.
Read more
How to audit, improve & enhance your BetterCloud workflows
Discover expert tips to audit & improve your BetterCloud workflows for optimal efficiency & compliance.
Read more
How to manage SaaS sprawl
Remember when “software management” meant updating a few core applications and maybe tracking licenses in a spreadsheet? Ah, simpler times. Fast forward to today, and your organization is probably using more SaaS applications than you have fingers and toes – each with its own login, its own billing cycle, and…
Read more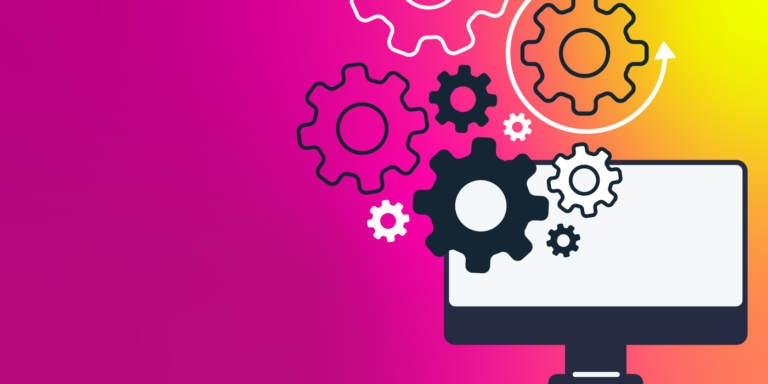
The 2025 guide to zero-touch automation
Discover zero-touch automation for IT! Boost efficiency, security, & productivity by automating tasks like help desk tickets & data protection with an SMP.
Read more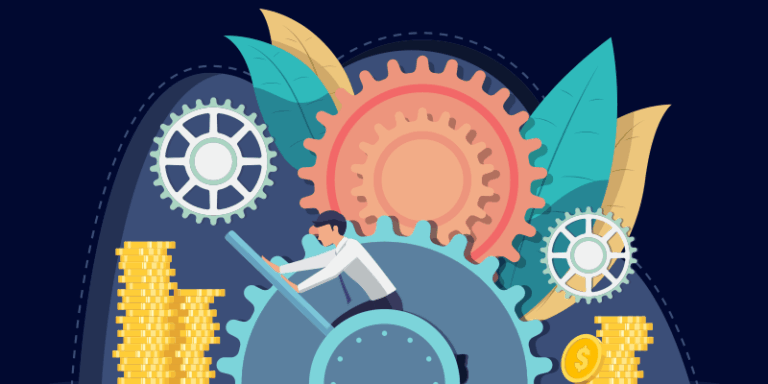
The comprehensive guide to SaaS spend optimization
Identify unused tools & redundant apps to control SaaS costs across your organization.
Read more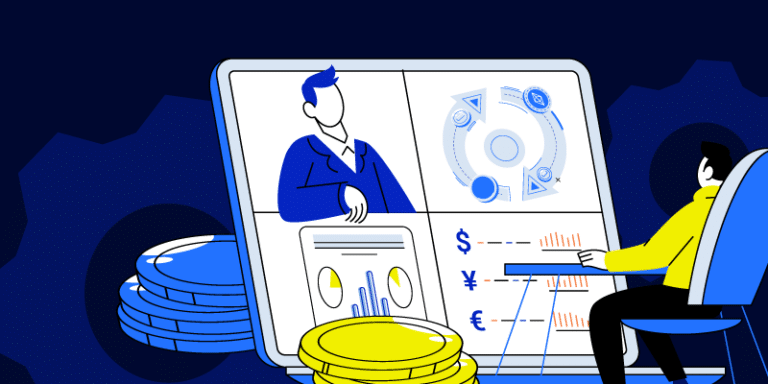
How to manage your SaaS spend in 3 easy steps
Learn how to manage your SaaS spend effectively. Discover tips to save money on software by eliminating waste, understanding contracts, and using an SMP.
Read more
The value of no-code in IT automation
Boost IT efficiency with no-code automation! Learn why no-code automation for IT helps streamline tasks, cut costs, and deliver value to your boss.
Read more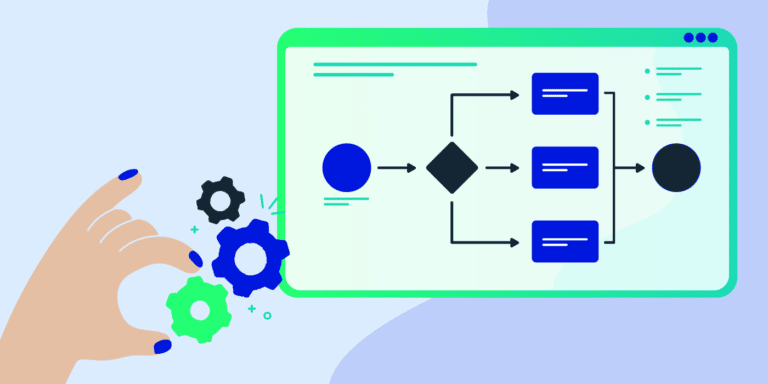
Five IT automation workflows every help desk needs
Boost IT efficiency! Explore help desk automation ideas & improve ticket resolution. Automate tasks to save time & transform your help desk.
Read more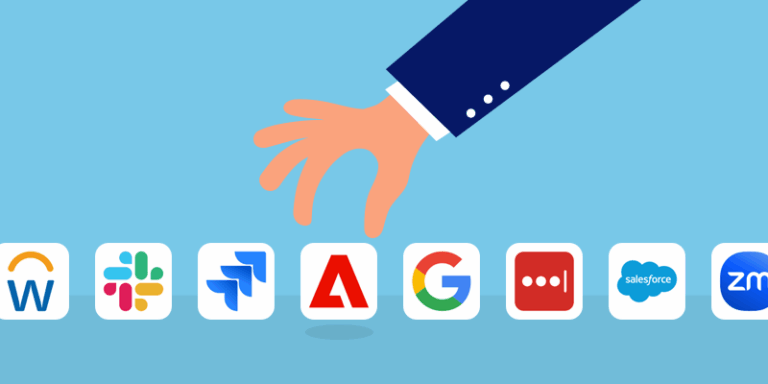
Product Tip Tuesday: How automated license reclamation saves you time
Unlock SaaS spend optimization with automated license reclamation. Reduce manual effort in software license management and save time & money!
Read more
Taming the IT Beast: Strategies for consolidating and simplifying your tech stack
SaaS consolidation is key for business efficiency and cost savings. Learn strategies to streamline your tech stack in 2025 and avoid SaaS sprawl.
Read more
Is your organization secure? Protecting your business in the SaaS world
Secure your SaaS applications! Learn essential security practices like MFA and DLP to protect sensitive business data and explore tools for centralized management.
Read more