
Add or Change a Profile Photo in Office 365
August 28, 2015 / / Comments Off on Add or Change a Profile Photo in Office 365
< 1 minute read


Tired of being represented by a silhouette or an image of your initials? It’s easy to change your profile image in Office 365 so the experience is a bit more personal, for you and anyone else you interact with.
Follow the instructions in the video above, or:
- Click the gear icon in the upper right corner, and select Office 365 Settings.
- Click the Edit Profile link.
- From the Profile page, click the camera icon.
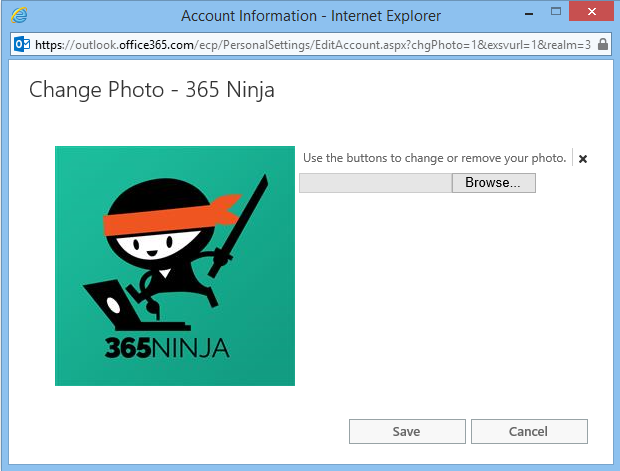
- Click Browse to select your profile picture from a local location.
- Click Save.
Alternatively, you can simply click on your photo in the upper right corner and select Change directly below the image. Click the folder icon to browse to the location of your photo, select it, and click Save.
Note that according to Microsoft, “In Office 365, user photos are stored in the following locations:
- A low-resolution photo (less than 100 KB) is stored in the user’s ThumbnailPhoto attribute in Active Directory. This is the photo that’s synchronized to Office 365 in a hybrid environment. Low-resolution photos are used by Lync 2010.
- A high-resolution photo is stored in the root directory of the user’s Exchange Online mailbox. High-resolution photos are displayed in Exchange Online, Lync 2013, and Lync Web App.”
We’ve tested to find that changing your photo via our instructions also displays in Skype for Business, so once you follow the steps here, you’re ready to use all components in Office 365 with your own image.


